


.jpg)
The Challenge just happened to coincide with a Flickr Swap I was involved in so things worked out perfectly!

So, a few weeks ago I signed up to be a part of a Pincushion Swap on Flickr. I started perusing the Internet, Flickr, Pinterest, etc. for something my swap partner would like.
I spotted "Mr Turtle Pincushion/Sewing Kit" and thought he was darling!
Now, I've never sewn a pincushion before and thought, "How hard can it be?" And honestly it hasn't been TOO hard, just time consuming {cough::cough:: soooo time consuming!!}
Of course I chose a really detailed pincushion with lots of tiny parts and lots of hand sewing. BUT...I think it turned out fantastic!
I'm sad to see the little guy go.... I'll miss him. :)
I found the tutorial for him here and pinned it on my "Sewing Ideas to Try" board on Pinterest. I liked the fact it was more than just a pincushion and had little hideaway spots for sewing goodies!
So, first off I have to tell you that I printed the pattern right away and started cutting out the fabric for the cute turtle pincushion.
I used some bright, solid cotton for the hexagons and tan linen for the shell. Mmmmmm...yummy!

A little while later I saw that I was supposed to ENLARGE the pattern 200% for the Sewing Kit Turtle. The regular size was for "Mr. Normal Size Turtle Pincushion Without Any Sewing Goodies". {oops}.

{He turned out to be about 7" from head to tail when completed. If you compare the original{small}pattern to my version you'll see I tweaked it a little to fit my liking/capabilities!}
Hexies. Hexagons. Polygons.

These bad boys are TINY and CUTE! I've never made anything using hexagons but now I'm a P.R.O! {No, not really.}
But I do think that in the future I'll be a good hexi maker, especially if they are bigger than 1". O_o
Body:
I used what I had on hand for his eyes - -5mm buttons.

I stuffed his flippers and head with stuffing from an IKEA pillow. I remembered reading somewhere that the filling in their pillows is really awesome. It worked perfectly. Nice, soft and fluffy!


Outside Top Shell: Has interfacing and batting inside. Hexis are sewn to outside top and then top and bottom pieces are sewn together and turned right side out.

Topstitching was added.


Bottom Shell:
Interfacing added to the bottom shell {as well as the body of the turtle}

Batting {After sewing the batting on to the bottom and top of the shell pieces, I cut away most of it to cut down on bulk.}

Topstitched bottom of shell.

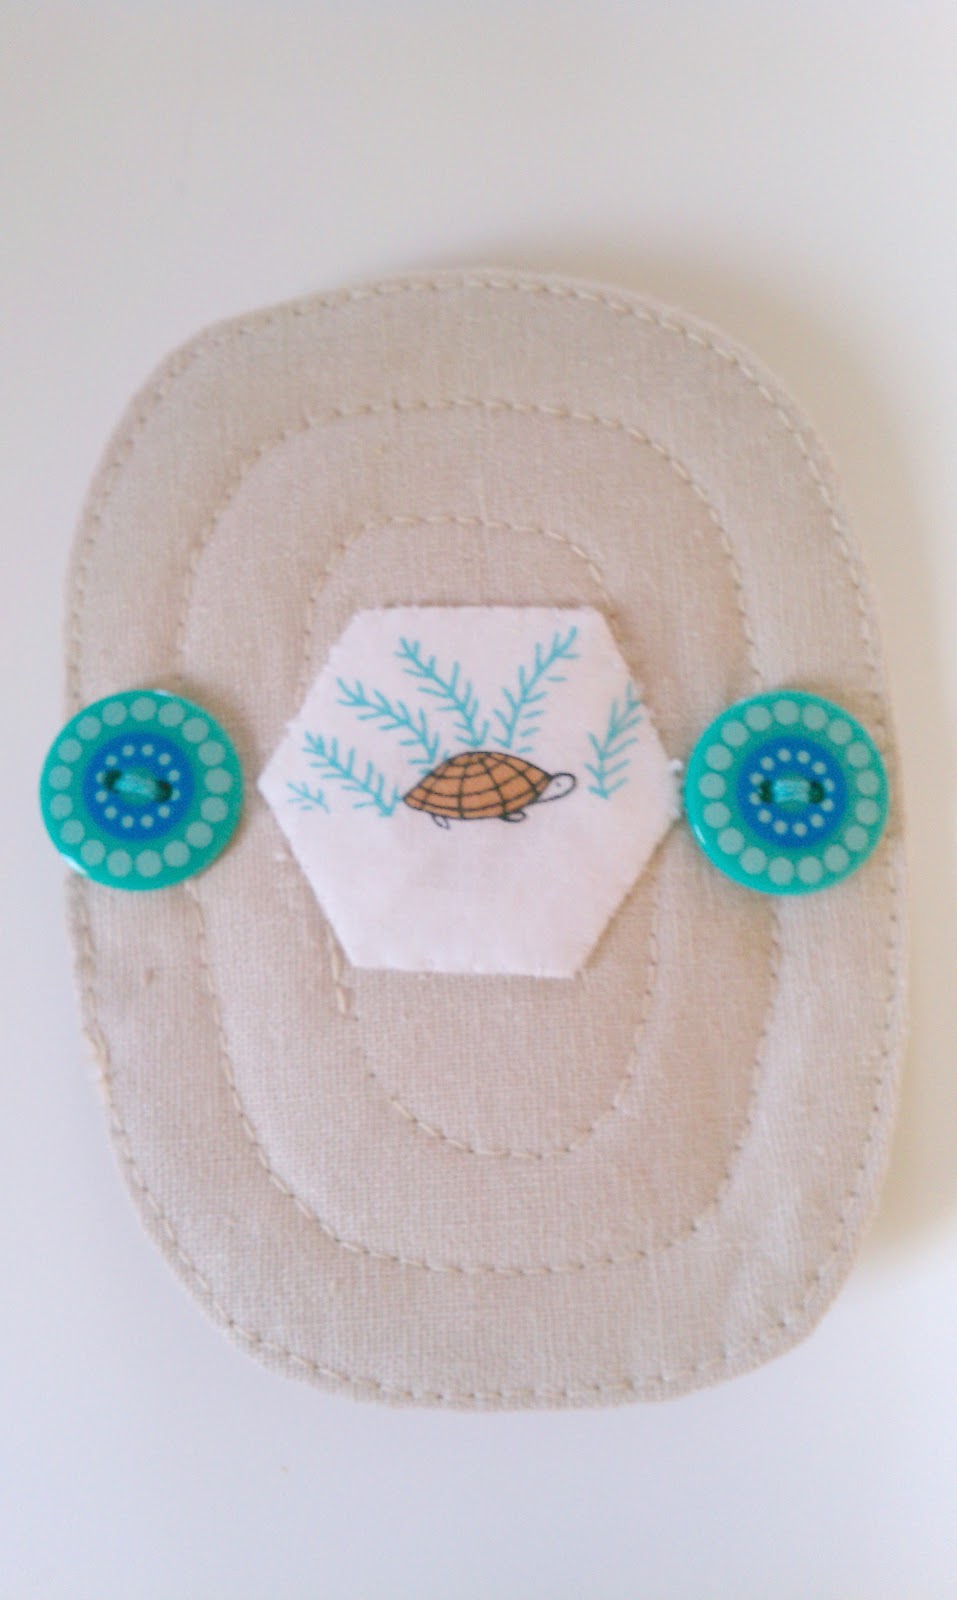
I fussy cut a cute turtle from some fabric, made it into a hexagon and sewed it onto the bottom of the shell. The hexagon has a magnet sewn inside it to help keep the scissors {see below} in place.

Buttons are sewn to either side of the bottom shell and are used with elastics to hold shell on.


Inside Bottom Shell: A little felt case to hold scissors in place.


Annnnndddddd.....there you have it!
A cute turtle pincushion/sewing kit!

Why don't you run on over to Michelle's blog and look at the other sewing projects included in the Pinterest Challenge?


Your turtle IS awesome! Love it! And your colors are very cheery :) well done! I can see lots of love in there...
ReplyDeleteJosée
Oh. My. Goodness. That is cute! I love your choice of rainbow for his back. I cannot believe you are sending him away! He's too cute, you are too nice! Lovely job.
ReplyDeleteThat is so adorable!!!! I'm sure your partner will be thrilled with it. :)
ReplyDeleteYou did a fantastic job! I love the rainbow hexies and the way you sewed them down. He's so cute! :)
ReplyDelete